

Installs can be a tricky business. Do you have a reliable installer for the sign you just purchased? This is an important question and decision for the future of your sign business. Let’s delve into a few common challenges to mounting a pattern with a seam, and electrical challenges faced while working in the field.
Mounting Patterns with Seams
Always double-check the pattern before for correct sizes and hole placement. Mounting patterns, like letters, are custom made to your specifications. If there is a problem with a pattern, please call us to discuss available options. Please note our plotting surface is 27 inches; therefore, any sign, letter or logo that is taller that 27” will require additional panels on the pattern. If your pattern is only one panel. It will be ready to place without additional steps.
As stated above, anything larger than the 27 inches will require additional mounting panels which has lead to questions about how to align these panels during install. Below you will find a guide with 3 easy steps on how to put multiple mounting patterns together.
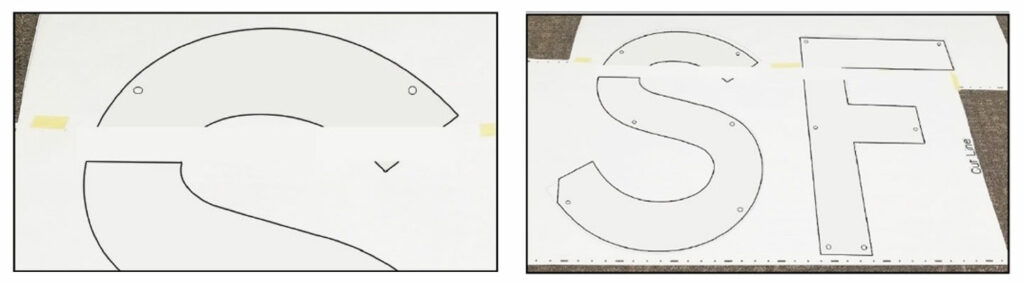
For this example, we are using two mounting panels.
To get started:
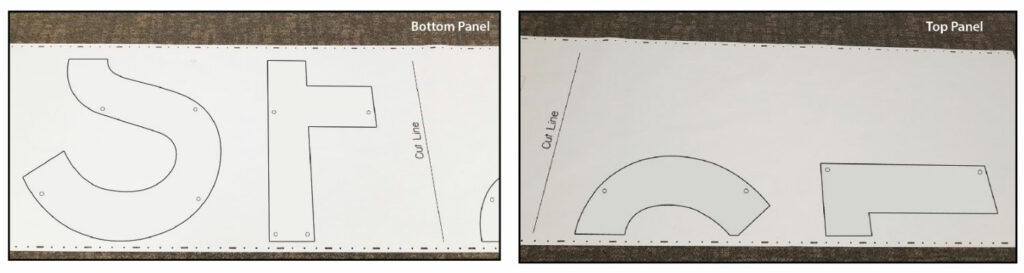
- First, after unrolling the pattern, find any vertical cut lines, and cut the pattern there.
- Working from the left side of the pattern, the first panel, after cutting it, would be the bottom of the sign/letter/logo. Line up additional panels by overlapping the horizontal lines found at the top of the bottom panel and the bottom of the corresponding panel.
- Make sure your panels are perfectly aligned before taping them or drilling any holes. If the pattern is slight off, it can alter measurements and placement.
Here are some ways to avoid common INSTALLATION problems
- Check installation template (mounting pattern) before leaving the shop.
- Verify all boxes and letters have been delivered before leaving the shop.
- Center and level template on mounting surface.
- Clean surface thoroughly before using 100% silicone.
- Blow all debris from holes after drilling (stud or combination mount).
- Check letter orientation to avoid upside down characters.
- Make sure number on back of each letter matches positioning on template.
- Use only top-quality materials (silicone, tape, etc.)
For more tips on installation of larger signs or designing with seams see pg. 48 of our Sign Guide Catalog.
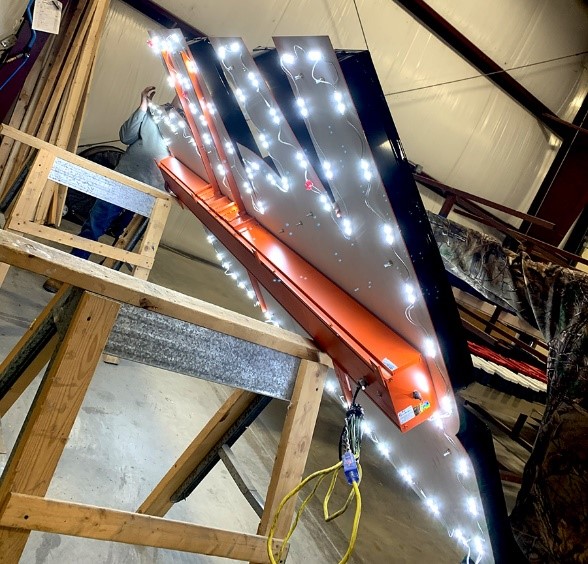
Electrical
Wiring mistakes are the most common of all LED lighting issues in the field. Typically, if your LED lights simply “don’t work” it is not because the products are defective but due to a basic wiring mistake or overlook. When installing a sign, the wiring diagram is your best friend. The diagram is there to help with installation of wiring and power supplies and to minimize your installation time.
Troubleshooting common electrical issues in the field:
Check Your Power supply:
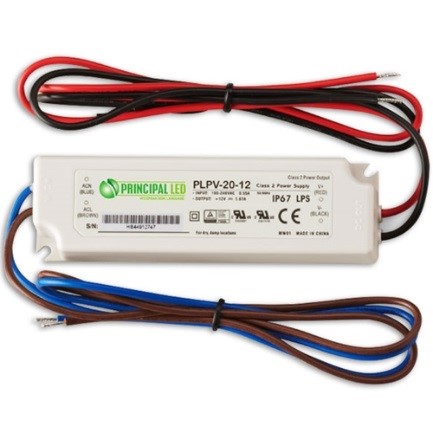
See if the letters that are out, match the wiring diagram to determine if it’s a power supply issue. For example, if you have 3 letters that are out and share a power supply on the wiring diagram, chances are the power supply went out. Our power supplies come with a 5-year warranty so if your power supply goes out within that 5-year time frame, we will send you a new one at no charge. All you need to do is send the defective power supply back to us with the return label we will provide.
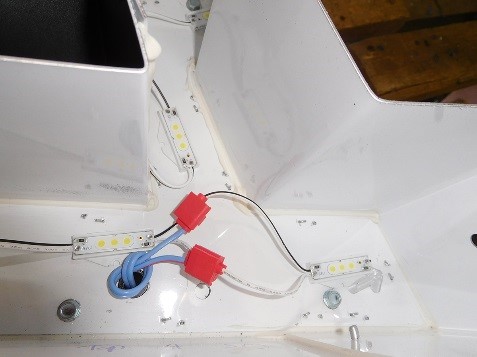
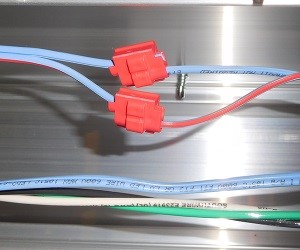
Connections
If you have one letter that is out, but more letters share a power supply with that letter, check the connections inside the letter. Wires might be loose inside the red connectors that connect the LED stands together.
Electrical issue from building
If the sign is relatively new, and more than one power supply is out, it is typically a wiring issue or electrical issue from the building rather than a power supply issue. You can get voltage readings coming from the building and at the LED’s to find out if there are surges in electricity causing the outage as well.
**Note
Our standard LED is Principal LED with 10yr warranty on LED and 5yr warranty on power supplies, other brands used will be warrantied according to manufacturer.
Our products are warrantied for 5 years to be free of defects in materials and workmanship. Warranty is limited to specific component warranties supplied by those manufacturers.
We’ve outlined several ways to help with better installation of mounting patterns and wiring mishaps. We hope this guide helps with these two issues and makes installation much smoother! Should any question arise do not hesitate to contact our support person at 800-544-6381 or email at [email protected].